|
Notes:-
Explaination - These are random hard-coded responses changing for every transaction, no defined order. |
Sample web portal view
Click on the below provided link to proceed
Then provide the following details wherever needed-
|
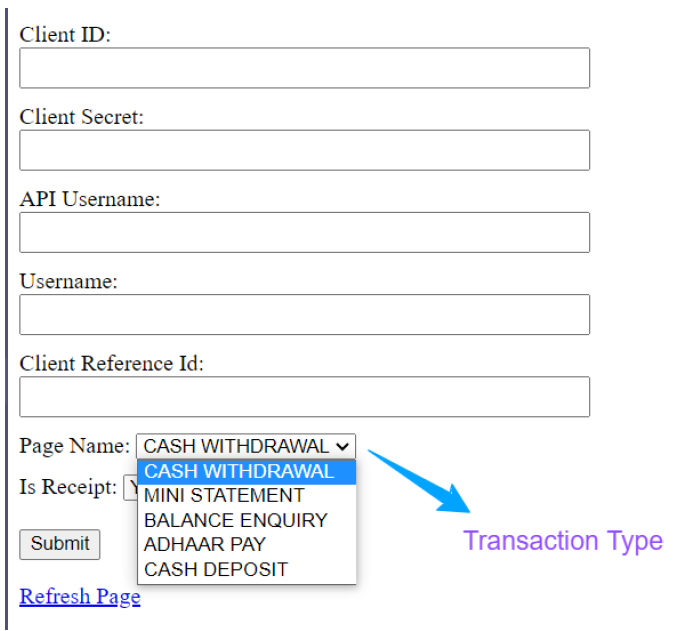
Provide the Client id, Client secret, API user name and Client reference id to start the transaction. Then choose transaction type from drop-down list. Select the transaction type as per your choice
Step-1: Provide the Client id, Client secret, API user name and Client reference id to start the transaction. Then choose transaction type from dropdown list.
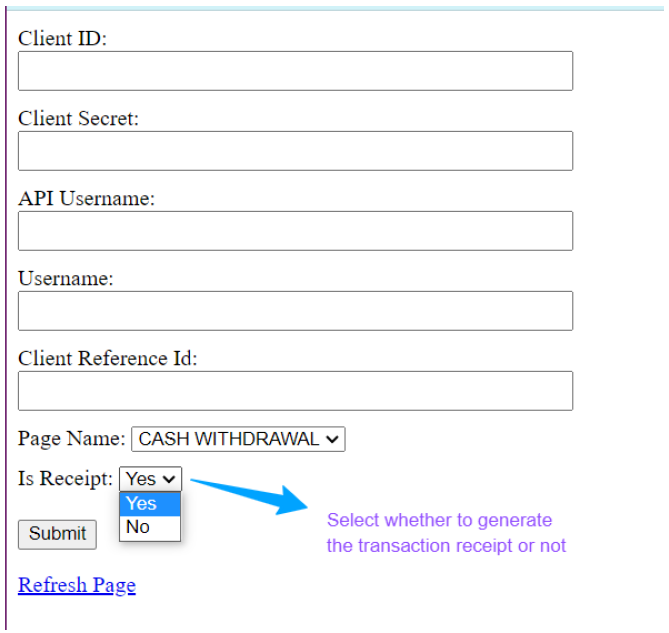
When you choose Receipt as 'Yes', we will provide the receipt from our end using our format. But when you choose 'No' you can check the transaction details by using the call back URL.
Two Factor Authentication Process
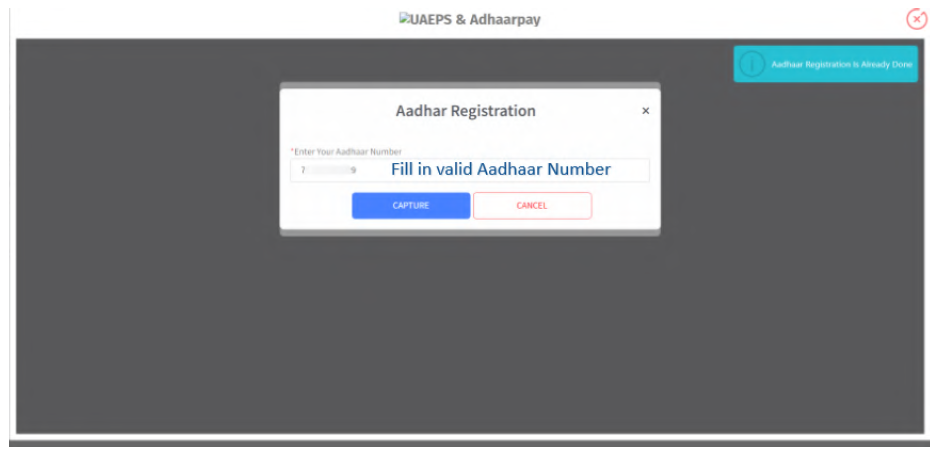
Step1: Aadhaar Registration:
If the retailer's Aadhaar number was not registered previously then, they have to register by providing a valid
aadhar number.
Step 2: Biometric Authentication
In case the Aadhaar number was already registered with us for the retailer, The retailer will be prompted to enter and confirm their Aadhaar number and then proceed.
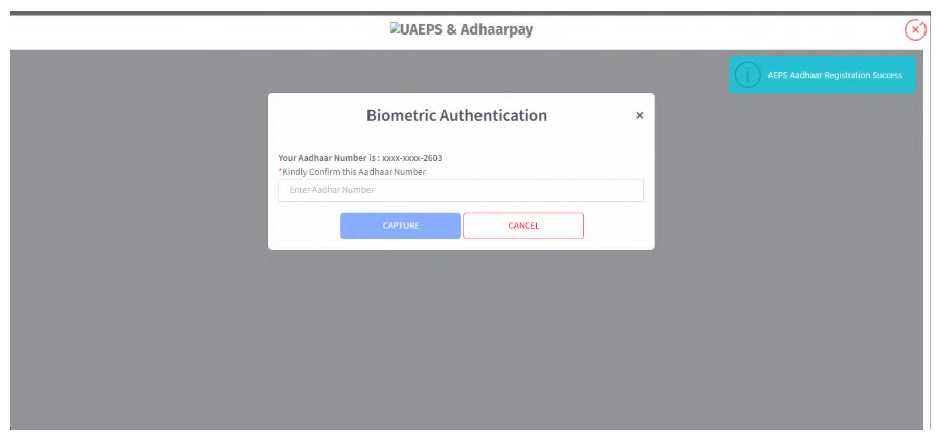
- In case the Aadhaar number was already registered with us for the retailer, but it was the first transaction of the day, this scenario arises.
- The retailer will be re-directed for daily Biometric authentication asking to verify their identity.
- The retailer will be shown their registered Aadhaar number with the last four digits unmasked and will
- be prompted to confirm the same by entering their Aadhaar number completely.
Two Factor Authentication Process
As per NPCI regulatory compliance, we have added a two step process for merchant verification and authentication to prevent fraud and misuse.
Aadhaar Registration and Bio Auth Application process flow:
The two steps/ factor include the client credentials and the retailer username.
Case1: If Aadhaar registration not done for the retailer, i.e. it is the first attempt for a transaction after On-boarding, then Aadhaar registration has to be done for the retailer before starting transactions which allows for daily Bio-metric Authentication.
Case2: If Aadhaar Registration already done, but it is the first transaction of the day, then the retailer has to authenticate himself in the daily 2FA process.
|
NOTE: Make sure your Bioauth process is done once in every 24 hours. If Bio-auth is not completed, no transaction will be allowed. The reset time of bio auth process is 0000 hours, i.e. 12 AM. |
Step 3: Upon successful Aadhaar Registration or Biometric Authentication, the client will be re-directed to the page where the retailer can enter the details for the customer transaction.
Step 4: Choose your preferred finger print device to scan the finger print then click on proceed.
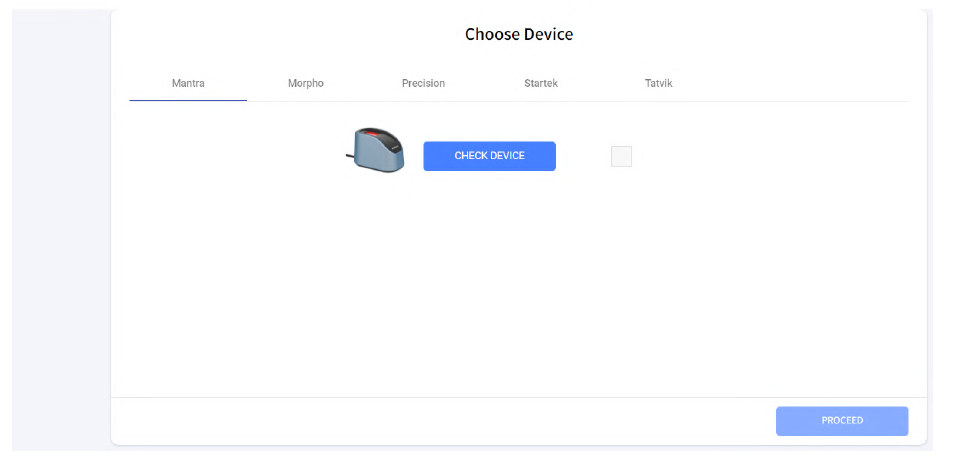
Step 5 - Once you click on proceed, you will be redirected to particular transaction page.
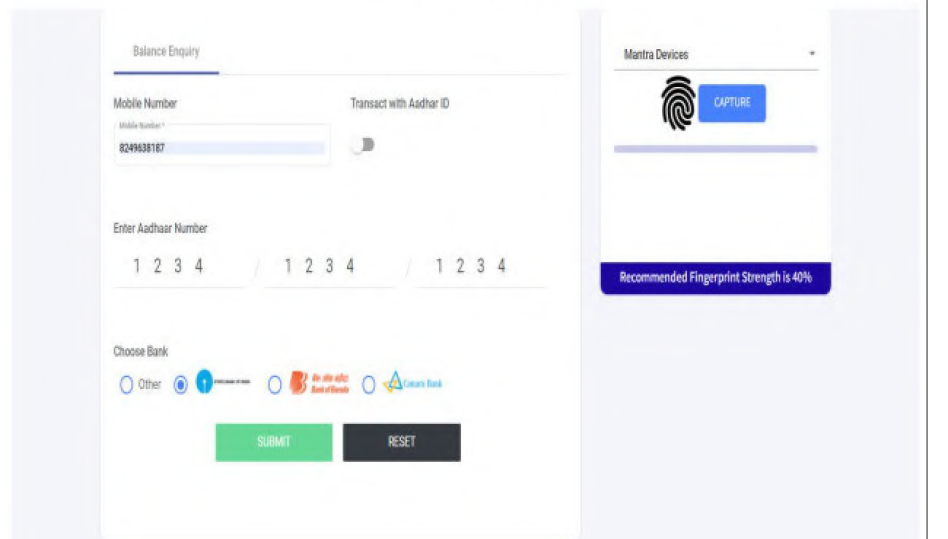
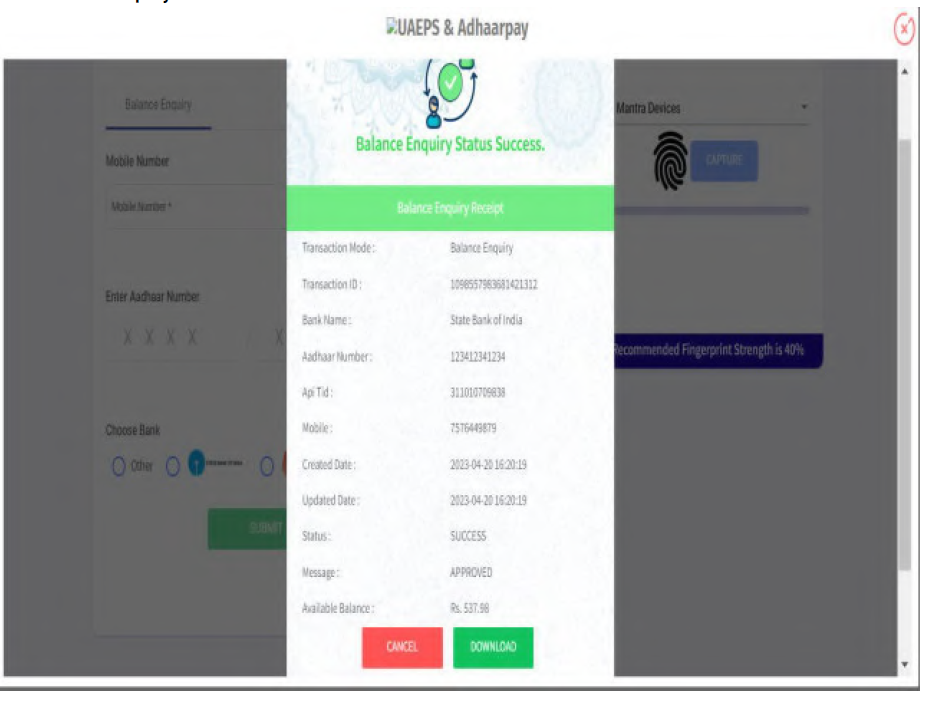
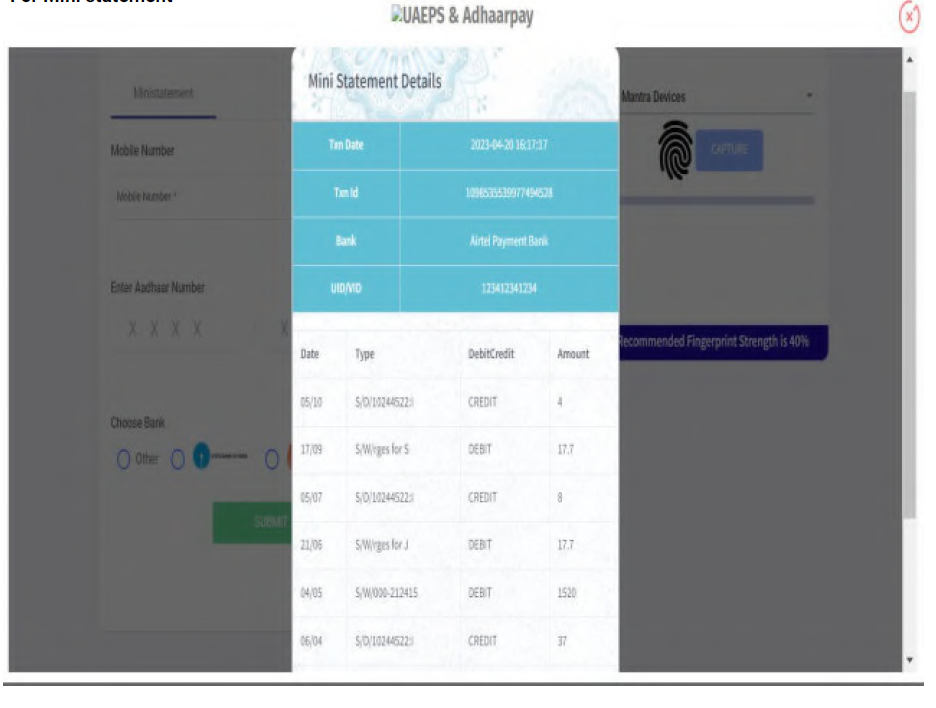
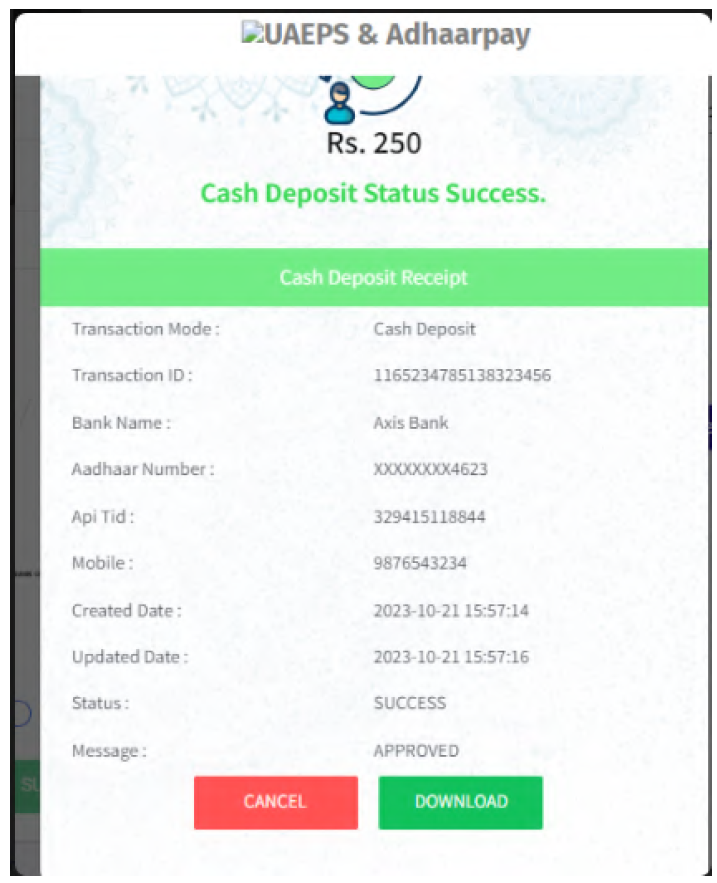
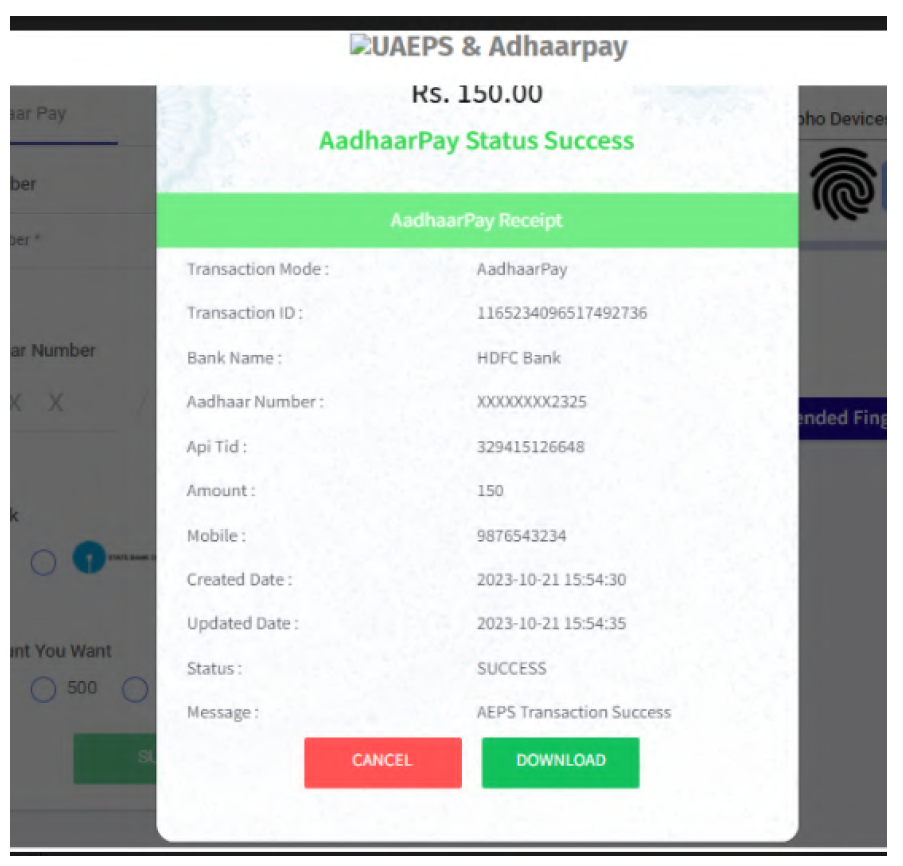
Step 6: When the transaction is completed successfully.
For Cash Withdrawal
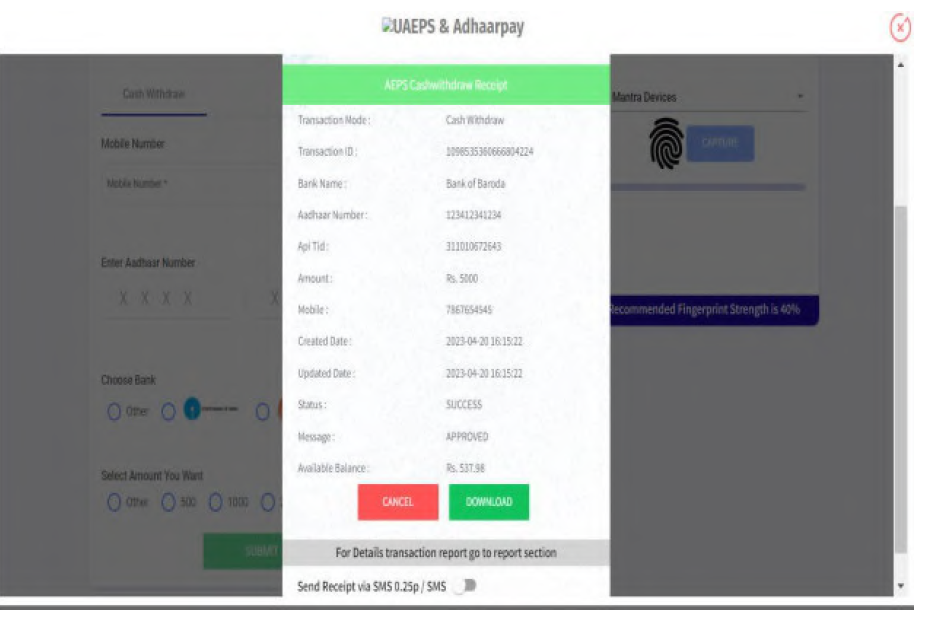
For Balance Inquiry
For Mini statement
For Cash Deposit
For Aadhaar Pay
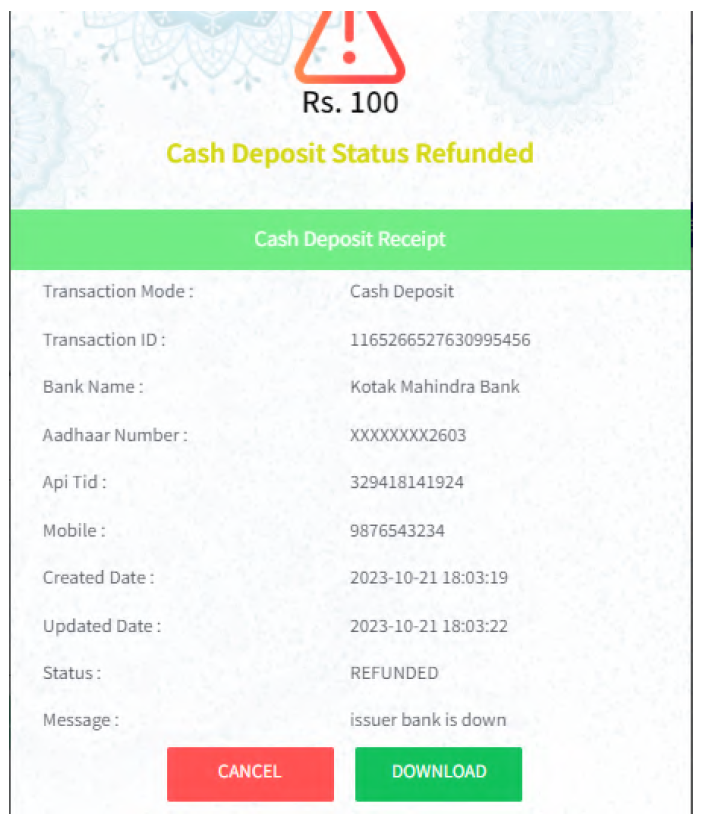
Sample Refunded and Failed Transactions
A Refunded Cash Deposit Transaction
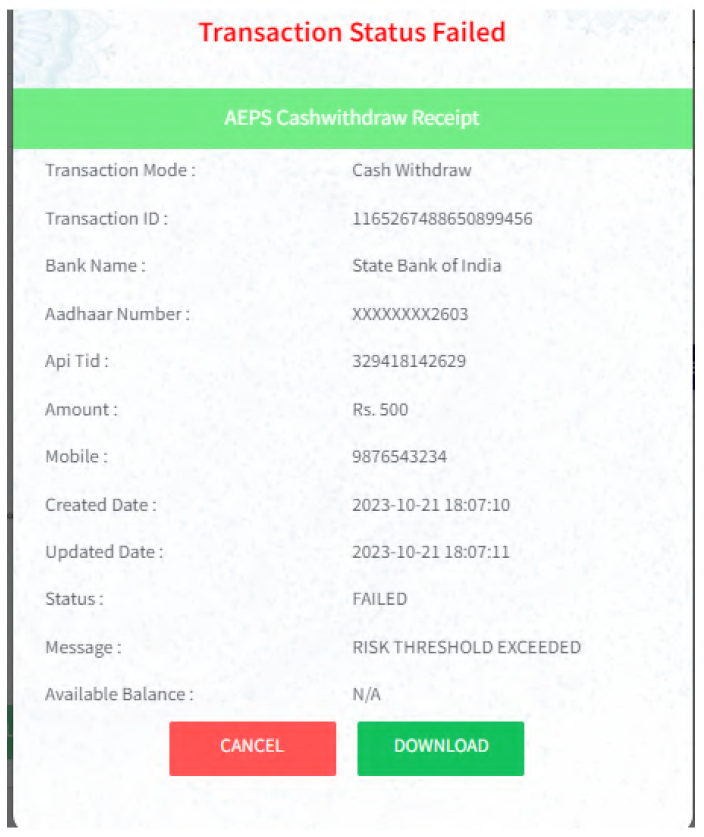
A Failed Cash Withdrawal Transaction
